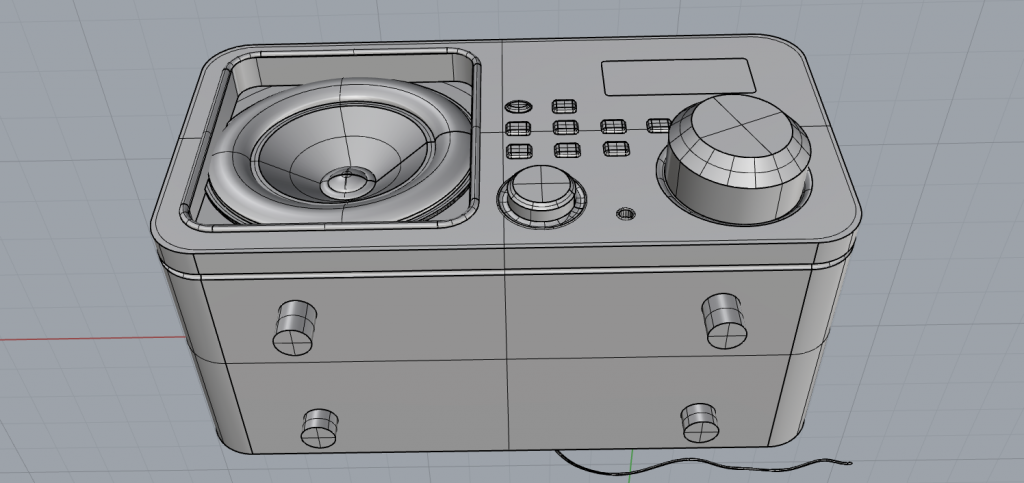
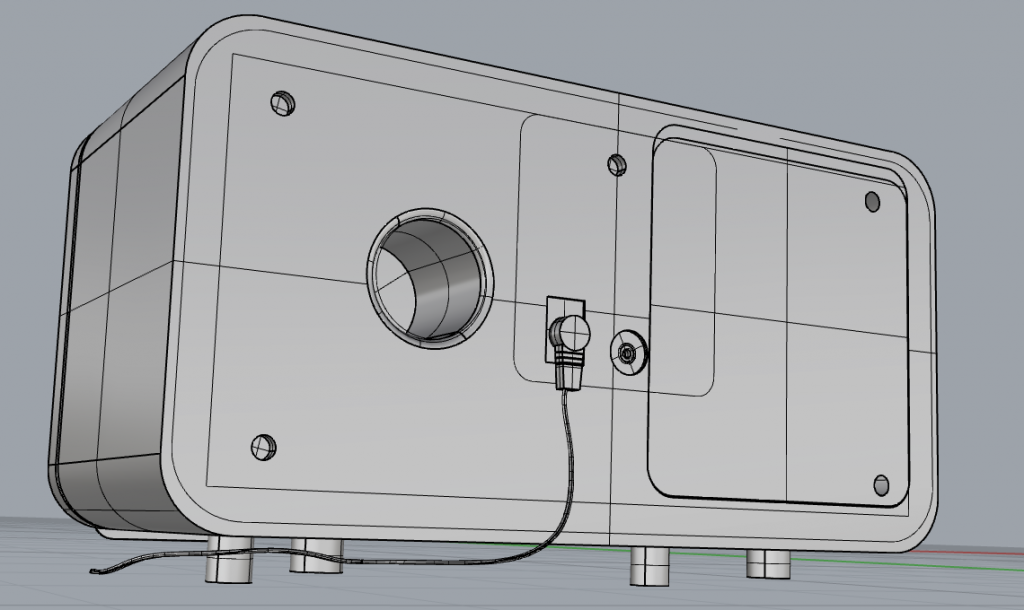
http://digitalsculpture.blogs.bucknell.edu/t-splines-introductory-exercise/
Month: October 2014
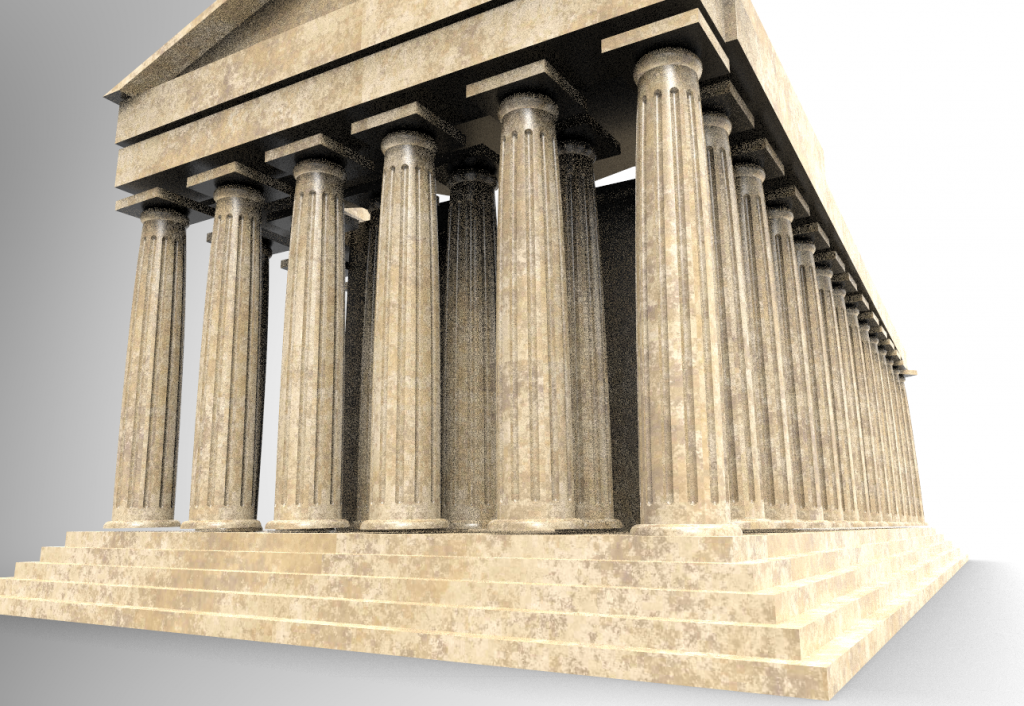
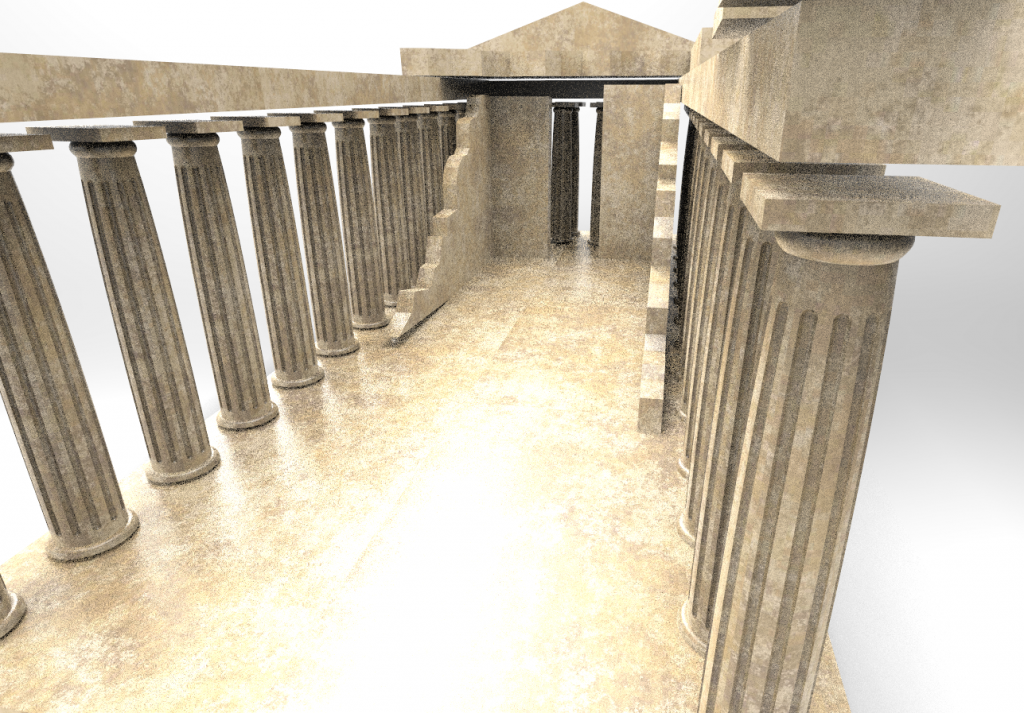
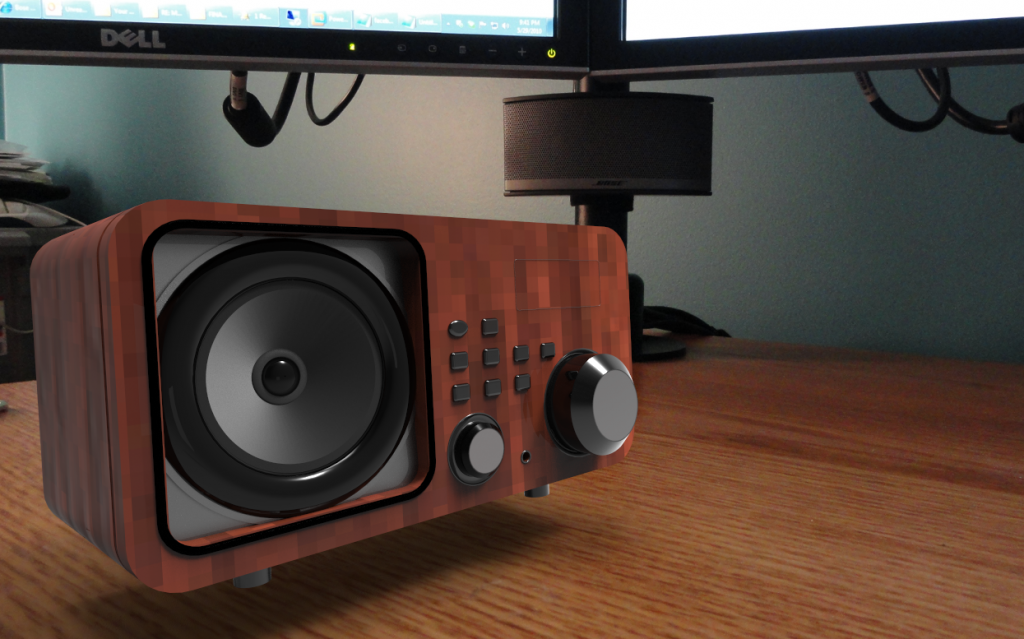
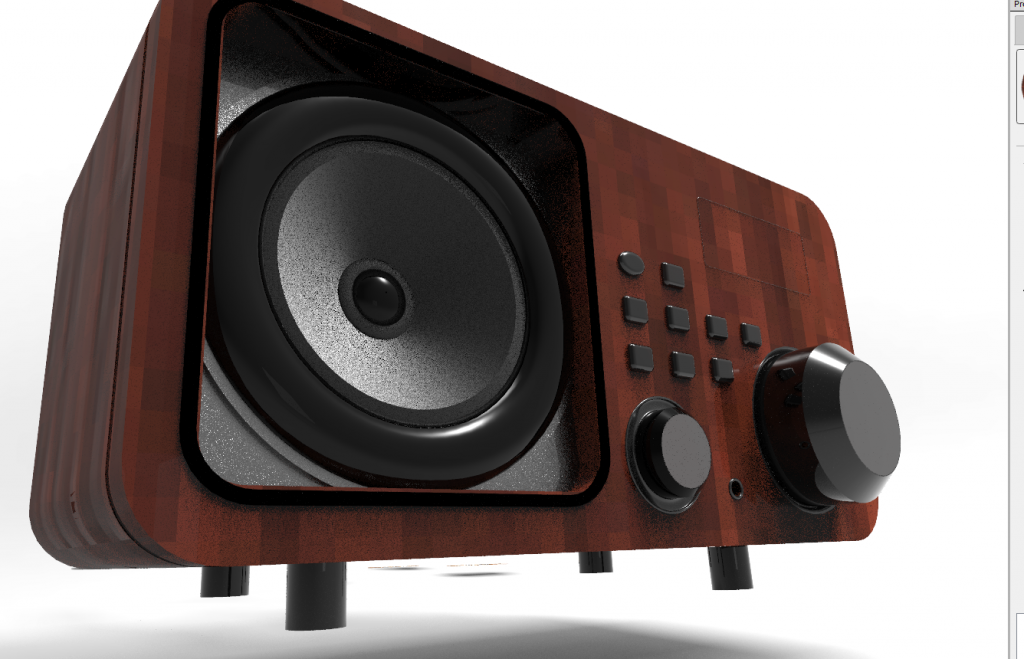
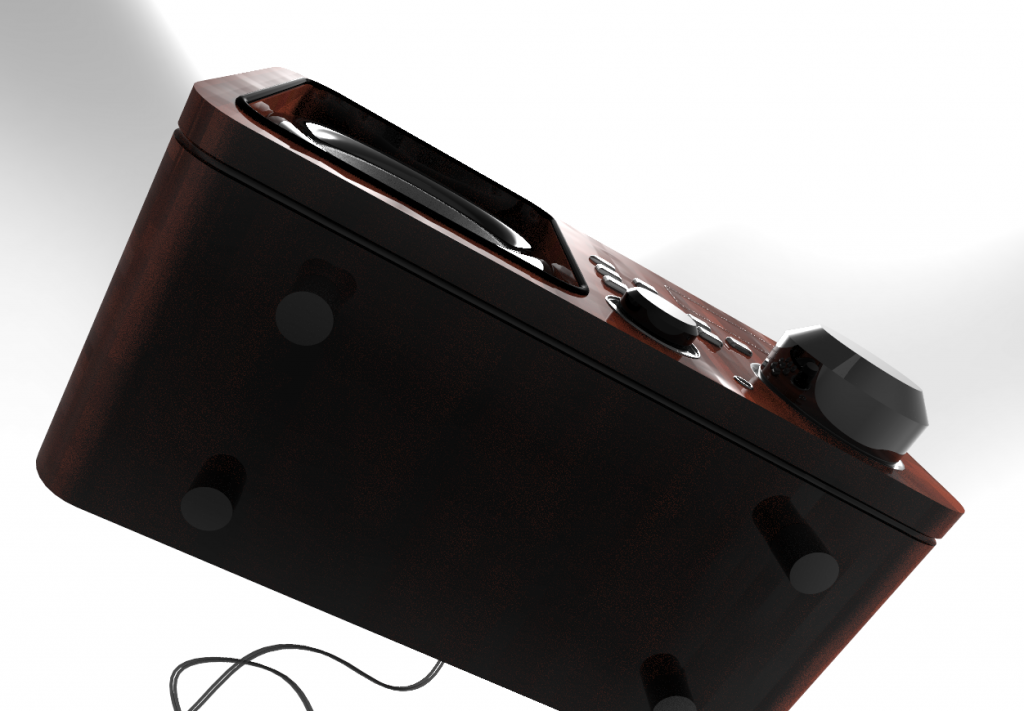
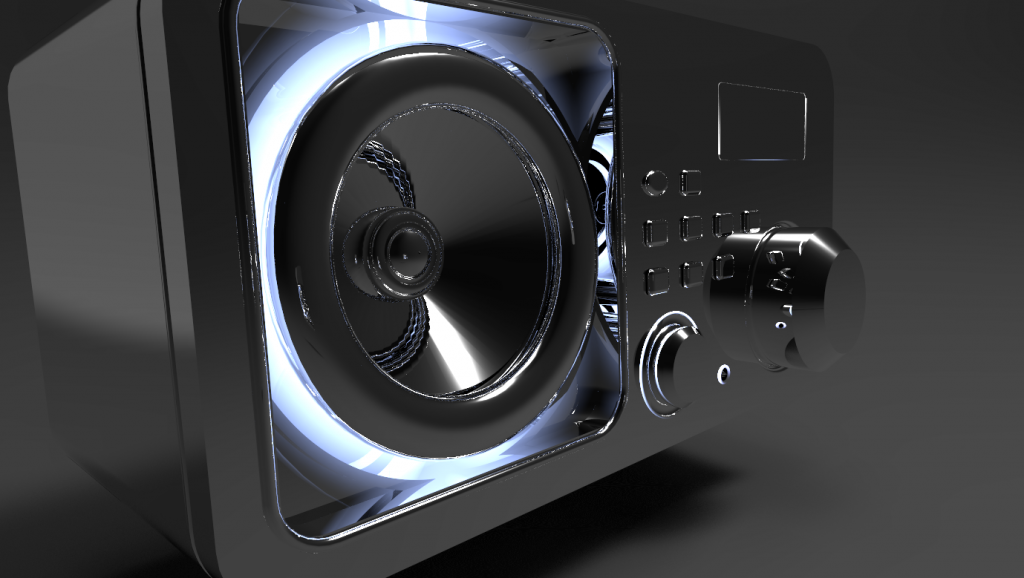
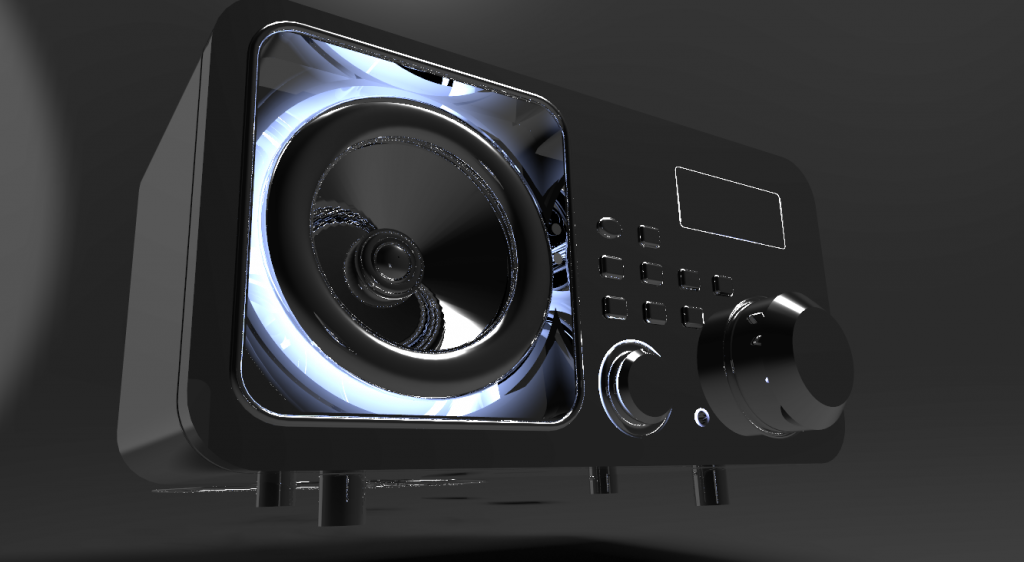
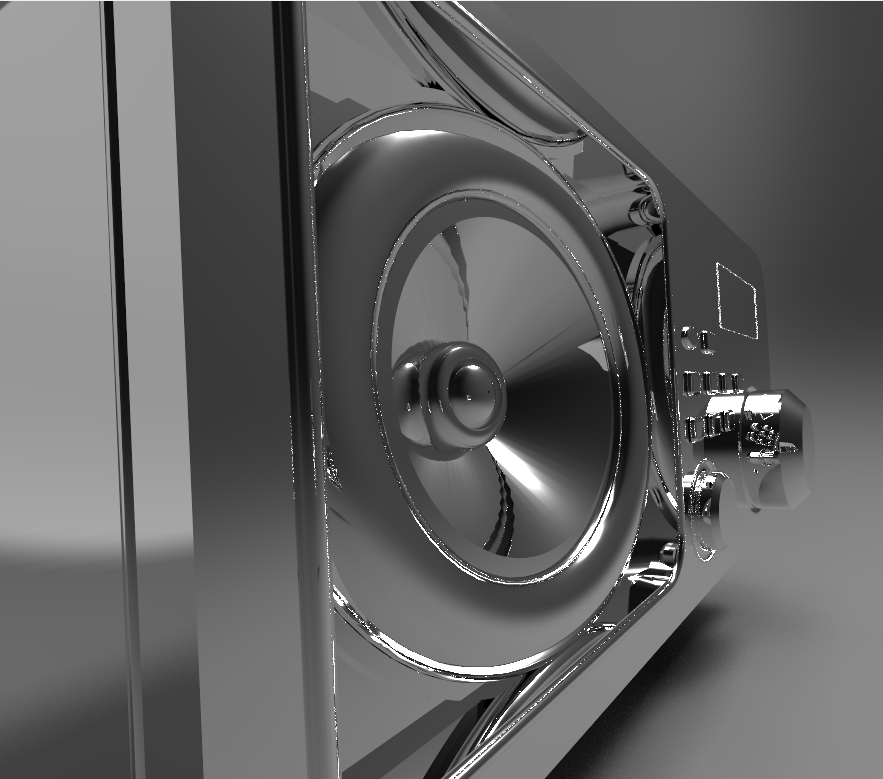
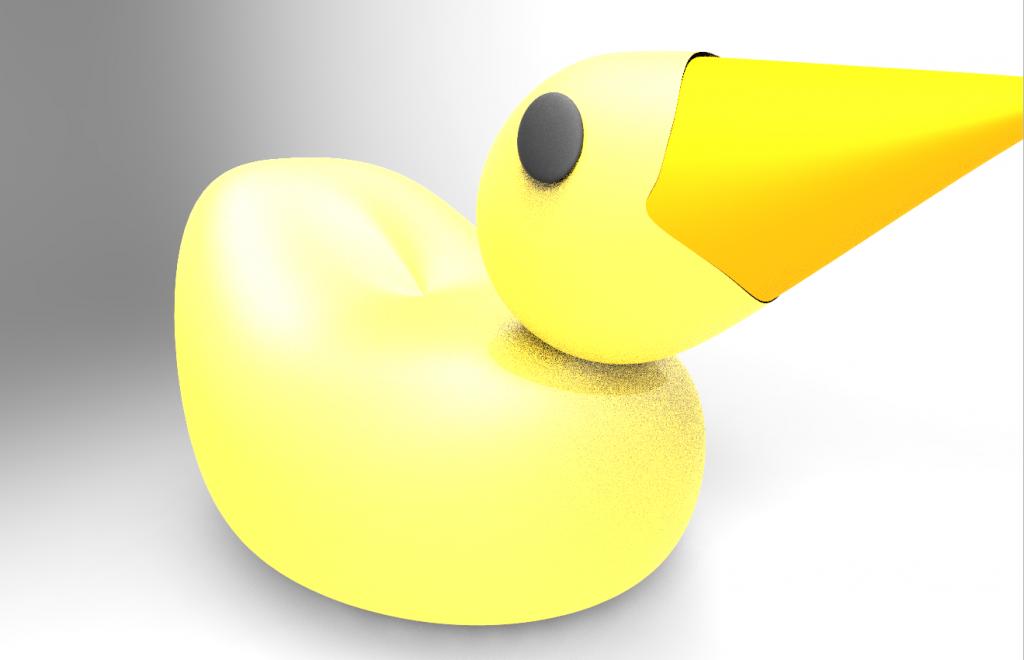
Keyshot renders of radio
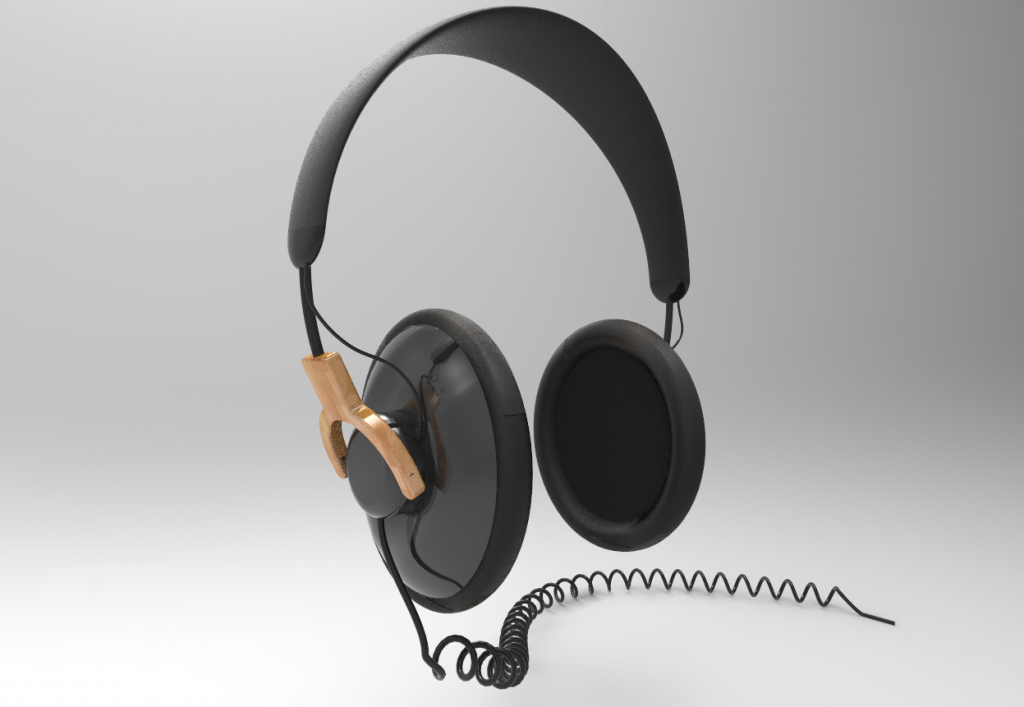
Before getting started in Keyshot I encourage you to watch these two videos and apply some of the methods to improve your headphones:
Keyshot
Examples of my past students’ Keyshot radio renders are available at the bottom of this page:
http://arst349.blogs.bucknell.edu/page/6/
—-
Instructions for creating your photorealistic renders in Keyshot:
Your assignment this weekend is to create a minimum of 5 different Keyshot renders of your radio and headphones, and post your images on the public class website. Students are expected to visit Keyshot’s website and watch the brief tutorial videos listed below. Students are encouraged to include additional items of interest, and experiment with various materials, textures, environments, backplate images, camera lenses, etc.
– – –
Please watch the following Keyshot tutorials, which are available here: http://keyshot.com/learning/tutorials/
Rendering
Lesson 1: Rendering Overview
Lesson 2: User interface
Lesson 3: Working with cameras
Lesson 4: Importing and working with data
Lesson 5: Assigning and editing materials
Lesson 6: Texture overview
Lesson 7: All about labels
Lesson 8: Adjusting lighting
Lesson 9: Realtime settings
Lesson 10: Using backplates
– – –
Notes from the professor
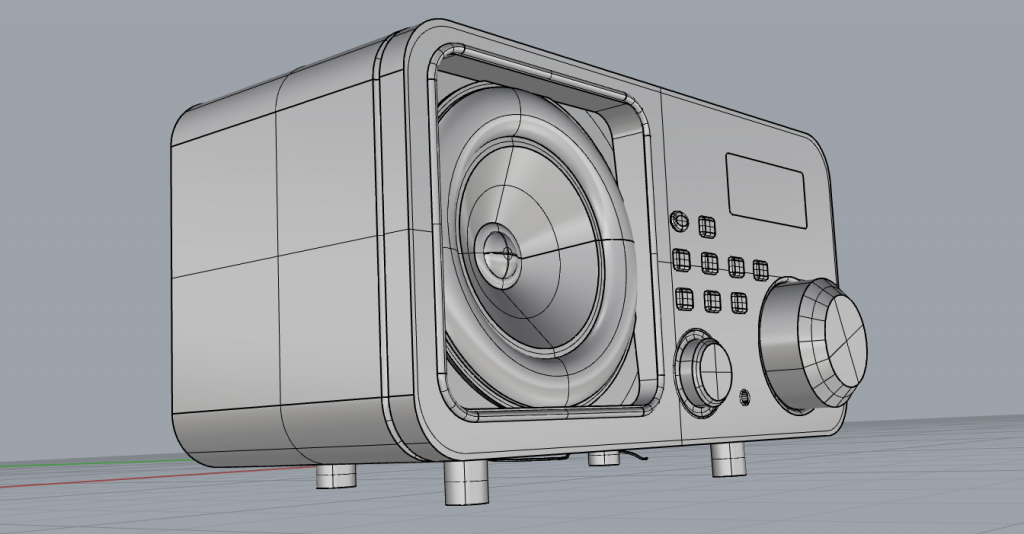
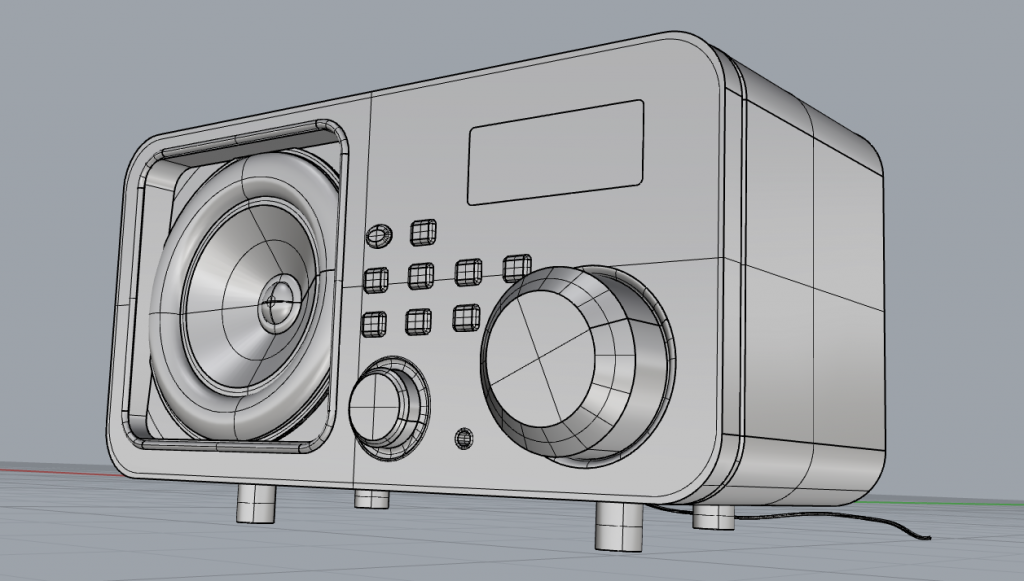
- While preparing your project in Rhino, organize the parts into different layers — once in Keyshot, each layer will be assigned the same material.
- Before exporting from Rhino, select all with CTRL A and then run the “convertextrusion” command, ensuring that DeleteInput=YES.
- Go to windows start button, and open the floating version of Keyshot.
- In Rhino, under the Keyshot top menu, click “render”. Your file will now export to Keyshot.
- Getting around in the space
- orbit with left mouse button
- pan by holding down middle mouse button
- zoom by rolling middle mouse wheel
- to zoom selected, right click a part and select “look at”
- Open the “project” window
- Each Rhino layer becomes a different part of the scene tree
- Press the + to expand a layer
- Each Rhino layer becomes a different part of the scene tree
- Open the material library, and drag materials onto layer names in the scene tree
- Materials can be edited by double clicking on the model or scene tree
- Many options can be changed in environment
- In the camera tab, cameras can be saved and/or locked at the top
- Open the library
- The environment can be changed– simply drag and drop into the workspace
- Backplate images can be added– simply drag and drop
- Textures can be applied to the scene tree as labels, colors, bump maps etc. to create a variety of effects
- Light can be adjusted with arrow keys on keyboard
- for large adjustment, use up and down
- for fine adjustment, use left and right
- To create a quick, low quality image, click the screenshot button or press “P”
- To make a high quality image, click the render button at the bottom—then in the output tab, click the second render button in the lower right. To be of good quality, renders should be at least 800 pixels in the larger dimension.
- If at any point, you need to make changes to the layer organization or you need to move parts around, return to your Rhino file, make the necessary changes, and then while still in Rhino go to the Keyshot top menu and click “update”.
