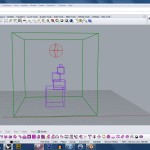
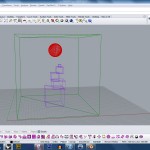
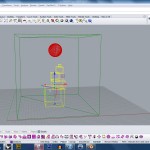
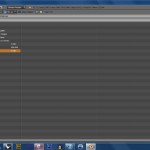
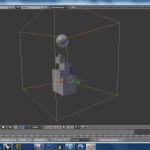
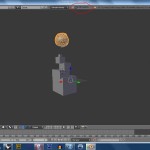
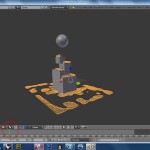
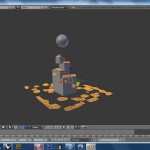
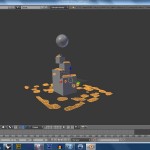
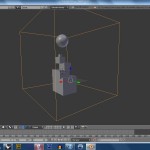
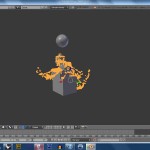
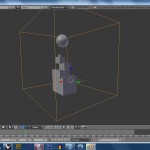
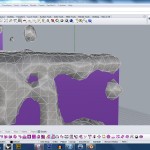
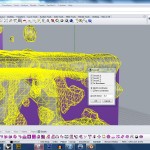
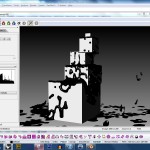
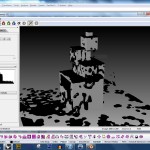
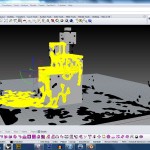
- 1 There are three main types of objects you’ll use in a fluid simulation: fluids, obstacles, and a domain. The fluid will collide with the obstacle object(s) and domain. The domain is the world in which the simulation will happen. (Note the layer names in this image)
- 2 After you’ve finished creating your fluid, obstacle objects, and domain, and you’ve assigned each type to a different layer, you’ll need to mesh all of the parts. The easiest way to do this is to select everything and type “mesh” in the command line, and then use the slider to create a mesh of sufficient but not excessive complexity. Now you’ll have both nurbs AND mesh forms, but we won’t need the nurbs for Blender, so type “selmesh”, invert the selection, and then move all nurbs parts to a hidden layer.
- 3 To make things simpler for Blender, you’ll want to join the various obstacle parts into one mesh. Meshes don’t need to share a common edge or even overlap; you can simply select them all and run the join command. If you were to ¬have different meshes for the fluids then you’d want to join those as well.
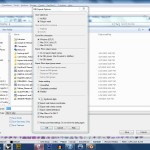
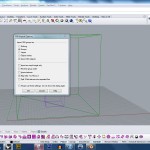
- 4 Export the fluid, collision objects, and domain a separate OBJ files. Note the settings that I’ve used, especially the welded edges and mapping of Rhino Z to OBJ Y.
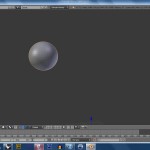
- 5 In Blender, delete the camera, box, and light by selecting with a right click, pressing the delete key, and clicking to confirm. Import the fluid object. Note the import settings that I’ve used in the lower left.
- 6 Note that your fluid mesh will show up as object 1 in the layer panel. We can right click and rename the layer “fluid”.
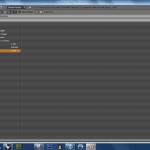
- 7 Click the far right button to bring up the physics panel (circled in red in the image below). Click fluid, set type to fluid.
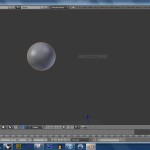
- 8 Import obstacle objects. Rename layer. Select obstacle objects, go to the physics panel, and click fluid. Set type to obstacle.
- 9 Import domain object. Rename layer. Note that the domain is opaque and you can’t see internal components. We can make the domain show up as wireframe by selecting the object with the right mouse button, then go to the “object” pane (circled in red in this image) then change draw type to “wire” (also circled in red)
- 10 Select domain object. Go to physics panel and click fluid, then set type to domain. Note that there are many options that we can adjust in the domain panel.
- 11 Click on the bake button, and notice that a status bar appears at the top, showing that Blender is processing a result.
- 12 Click at the bottom on the timeline to see the result. Notice that the result shown is low resolution and crude.
- 13 Set viewport display to final and notice that the result becomes more detailed.
- 14 By holding the right mouse button and dragging to the right on the final resolution area we can increase the quality of the result produced by the bake. Notice that the total required memory is shown on the bake button. Setting this value as high as possible will give a more detailed result, but when the required memory approaches 1GB the bake is likely to fail or take a very long time to complete.
- 15 You’ll want to tinker with are the viscosity preset, which can make the fluid behave like honey, oil, or water. Also note that you can adjust the real world size. When creating this demo, I imagined that my domain for this render would be one meter across, so I set the real world size accordingly to give a result consistent with that size.
- 16 With these settings adjusted we can now create a mesh of higher quality. It will take a while to complete. I suggest saving often, since the program sometimes crashes during the baking process.
- 17 As the bake completes you can click in the timeline to see the result.
- 18 If you click too far ahead in the timeline you’ll see the original domain object. We can cancel the bake by clicking the X on the progress bar at the top of the screen.
- 19 When you’re satisfied with the result, set the timeline to the point you want, then make sure your fluid is selected by right clicking on it. Next go to file > export > OBJ.
- 20 Make sure that the selection only box is checked, and be sure too that you use the same axis orientation shown in the screenshot below.
- 21 Import your OBJ back into Rhino using these settings.
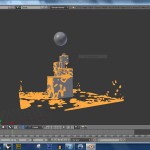
- 22 Note that the result is a bit jagged.
- 23 We can smooth the result by running the smooth command once, twice, or a few times, but be careful not to overdo it or the fluid may deform away from your obstacle objects.
- 24 The result.
- 25
- 26 You can explode the mesh if you want to modify individual parts. Alternatively, you can turn the control points on for the mesh and delete parts and/or apply transformations.
- 29 And I used fluid simulation to create the ketchup on this cheeseburger.
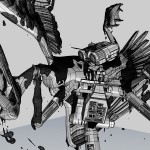
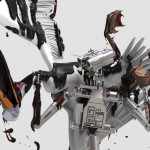
- 27 I used fluid simulation extensively in my Hercules and the Centaur project.
- 28
Note that the larger your domain box the harder Blender will have to work to process the result. The program has to account for all of the space inside the box during the simulation. With this in mind you’ll want to keep your domain as small as possible.
Demo files:
If you’d like to learn more then check out these helpful links:
http://wiki.blender.org/index.php/Doc:2.4/Manual/Physics/Fluid
http://wiki.blender.org/index.php/Doc:2.6/Manual/Physics/Fluid/Domain
