Currently viewing the category: "Lena"

MakerBot index for the Replicator (original) — find under “earlier products”

Check STL files for error with NetFabb before printing

 
  1. Finish printing the steeple.
  2. Do a few tests with each of the following: KScan, 123d catch, the Makerbot scanner in the DSC. Instructions for KScan are here: http://digitalsculpture.blogs.bucknell.edu/kscan-3d-directions/
  3. Prepare your 3D scans for printing.  These instructions may be helpful during the process: http://digitalsculpture.blogs.bucknell.edu/preparing-meshes-for-print/
  4. Remember, at the end of each work session, to make a blog entry at: http://arst349.blogs.bucknell.edu/ in the Lena category, including the following:
    • List hours worked and the date (e.g. 6-8pm, February 5)
    • A description of what you worked on
    • Results (what you learned/accomplished)
    • Relevant high quality photo(s)
 

Meetings:

Biweekly.  Friday at 3:30 at 7th Street.    2/7,   2/20,   3/6,   3/20,   4/3,   4/17

TASKS for the semester

  • Become fluent in 3D printing by creating numerous test prints in the Digital Scholarship Center.
    • Start by printing a couple of files downloaded from the Google 3D Warehouse or the Thingaverse.
    • Preparing files for 3d printing is complex; watch this helpful video as you’re getting started: http://vimeo.com/80478910.
    • Transition to printing from your own 3d scans and from the files I’ve included in this folder as soon as possible: P:\Meiser_Research\private\3D Printing
    • Please do some experiments with the dissolveable filament in the DSC.  It would be advantageous to be able to use it effectively.
  • Do several experiments with various types of 3D scanning.
    • Please do a few tests with each of the following: KScan, 123d catch, the Makerbot scanner in the DSC. Instructions for KScan are here: http://digitalsculpture.blogs.bucknell.edu/kscan-3d-directions/
    • 3D print some of your best 3d scan results.
    • Make notes on the reliability, quality, and limitations of each approach in your blog posts.
  • Support Professor Meiser’s Digital Sculpture class by printing their 3D body scans after the students turn their files in on March 26. Please try to have all of these prints finished by April 9.
  • Print out the Digital Sculpture students’ projects as needed in the last few weeks of the semester.

BLOG

At the end of each work session please make a blog entry at: http://arst349.blogs.bucknell.edu/ in the Lena category.  In each blog entry, please include the following:

  • List hours worked and the date (e.g. 6-8pm, February 5)
  • A description of what you worked on
  • Results (what you learned/accomplished)
  • Relevant high quality photo(s)

Notes:

The Coleman 220 computer lab is equipped with Rhino and has good computers.  The schedule is posted here: http://digitalsculpture.blogs.bucknell.edu/calendar/

Before each Monday morning, please post hours for the upcoming week on the shared Google Calendar.  This will make it possible for Prof. Meiser to drop in to see how things are going when his schedule aligns.


http://digitalsculpture.blogs.bucknell.edu/t-splines-introductory-exercise/


ksparth ksparth2ks hp1

deskrad

radio2radio3

glorad1 glorad2

chromerad

keyshotduck


Before getting started in Keyshot I encourage you to watch these two videos and apply some of the methods to improve your headphones:


Keyshot

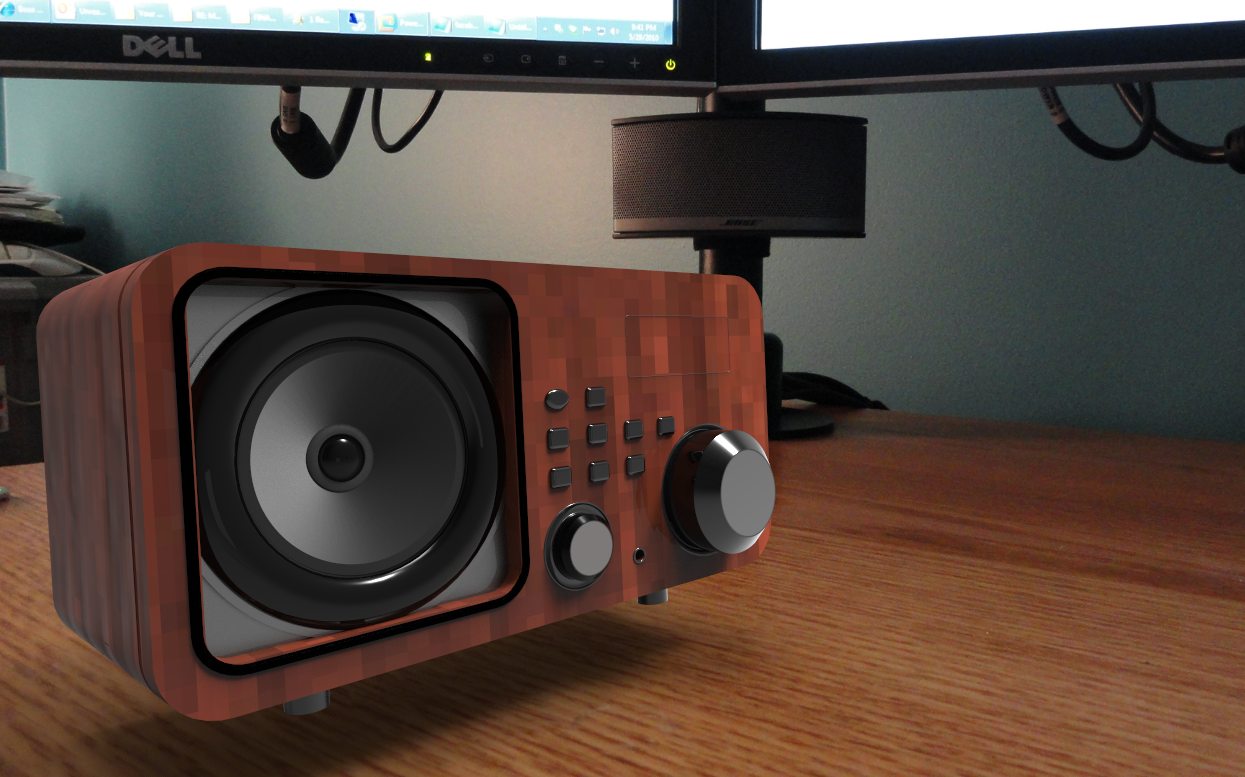
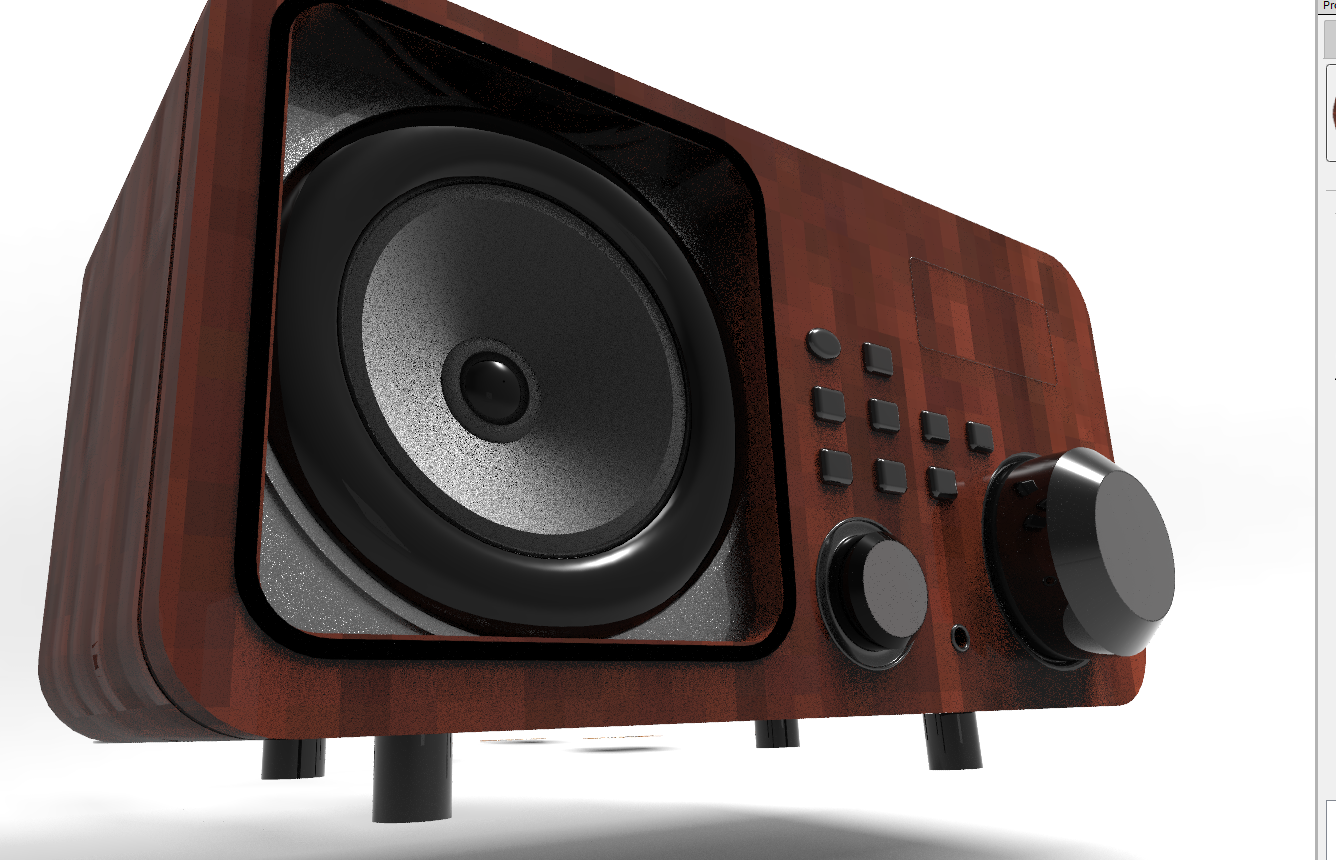
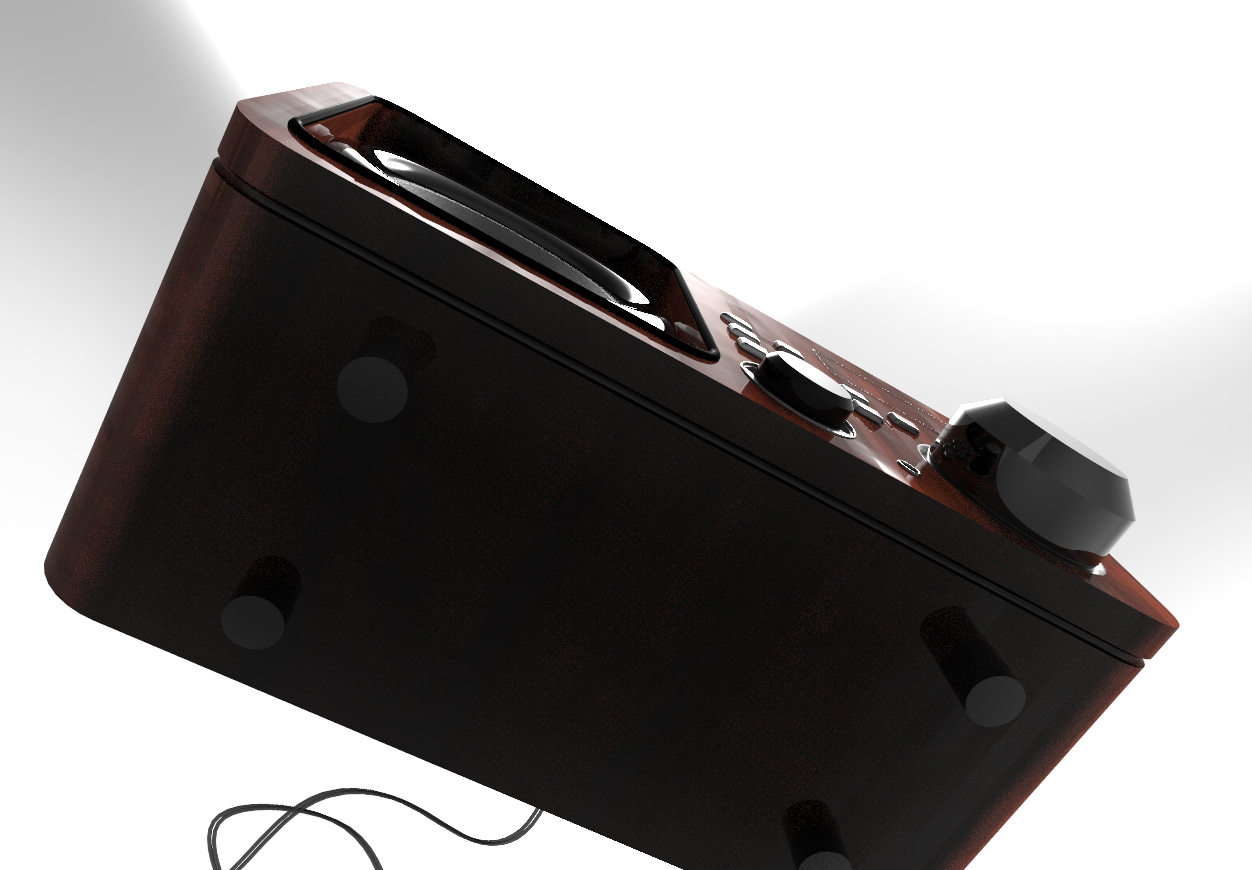
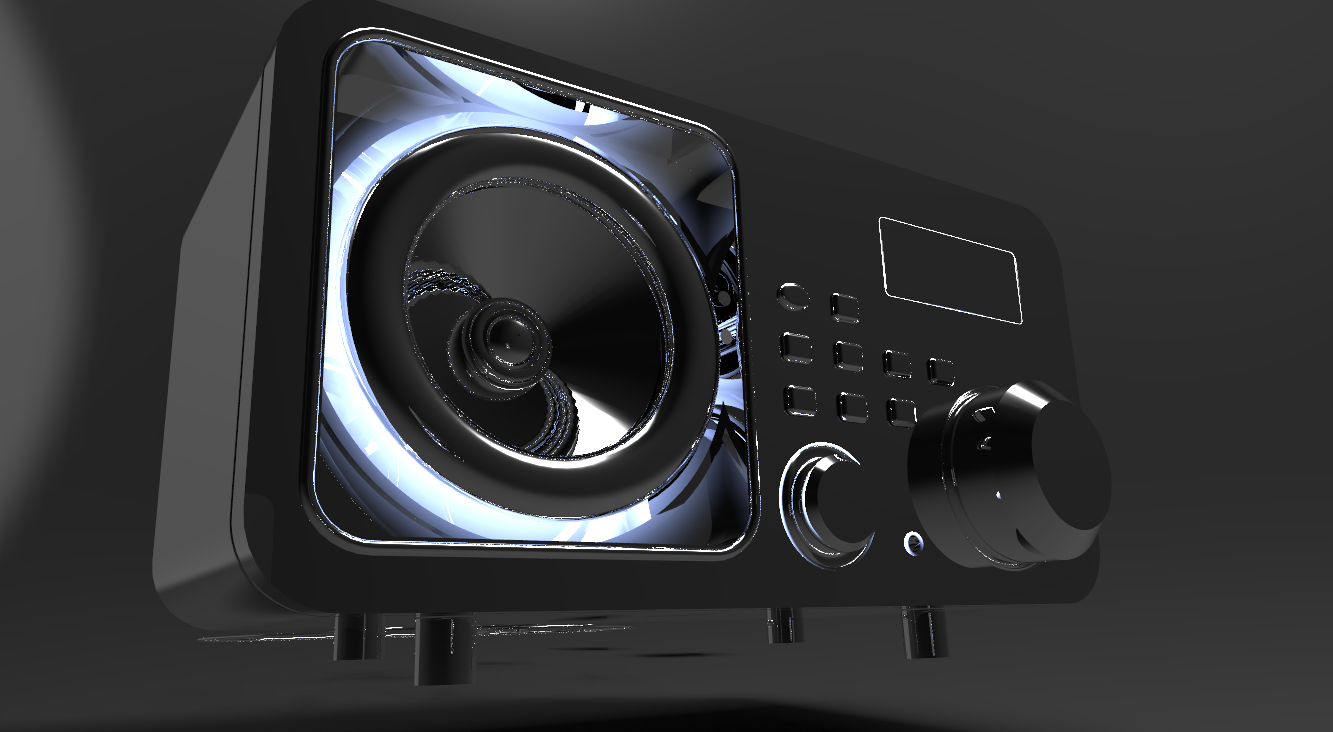
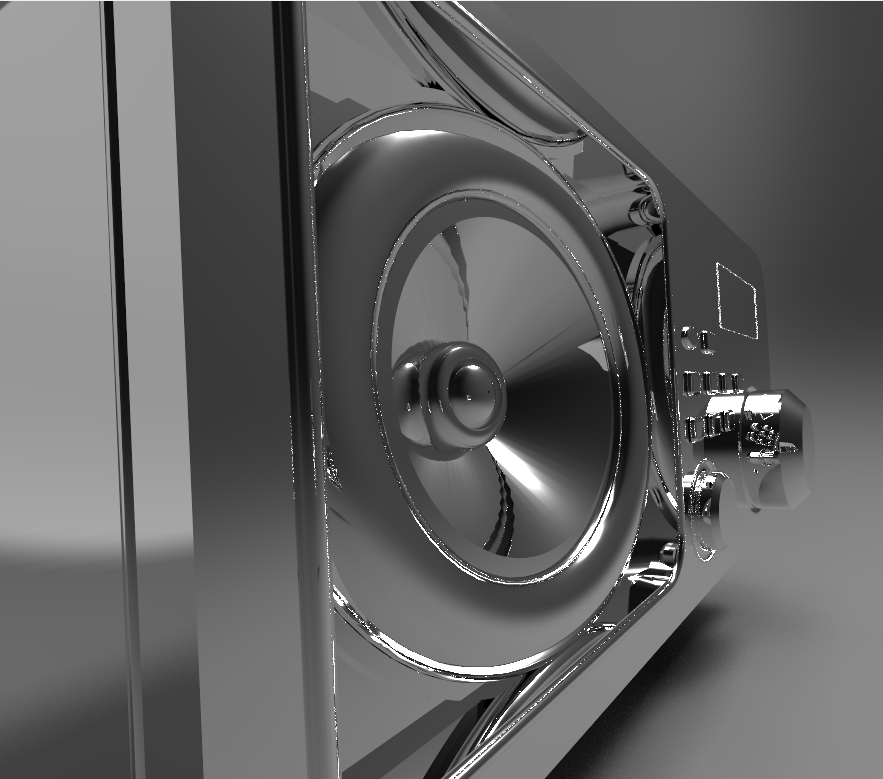
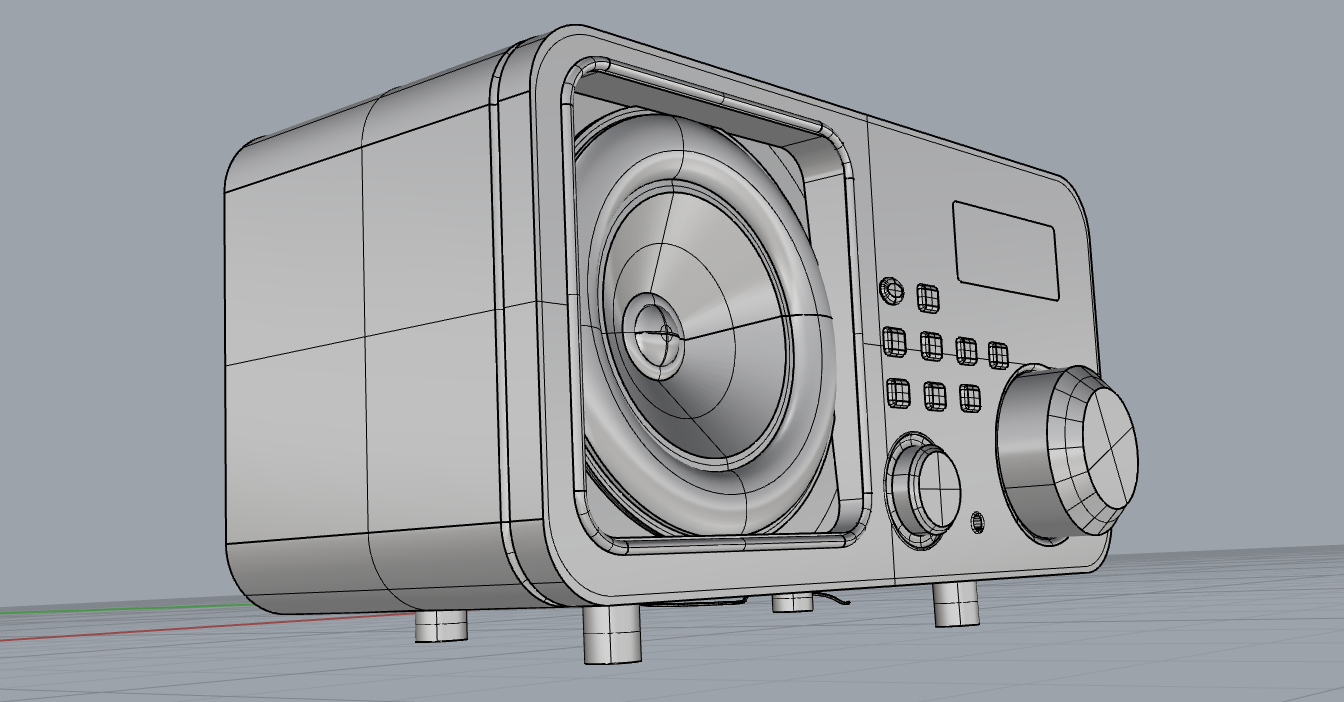
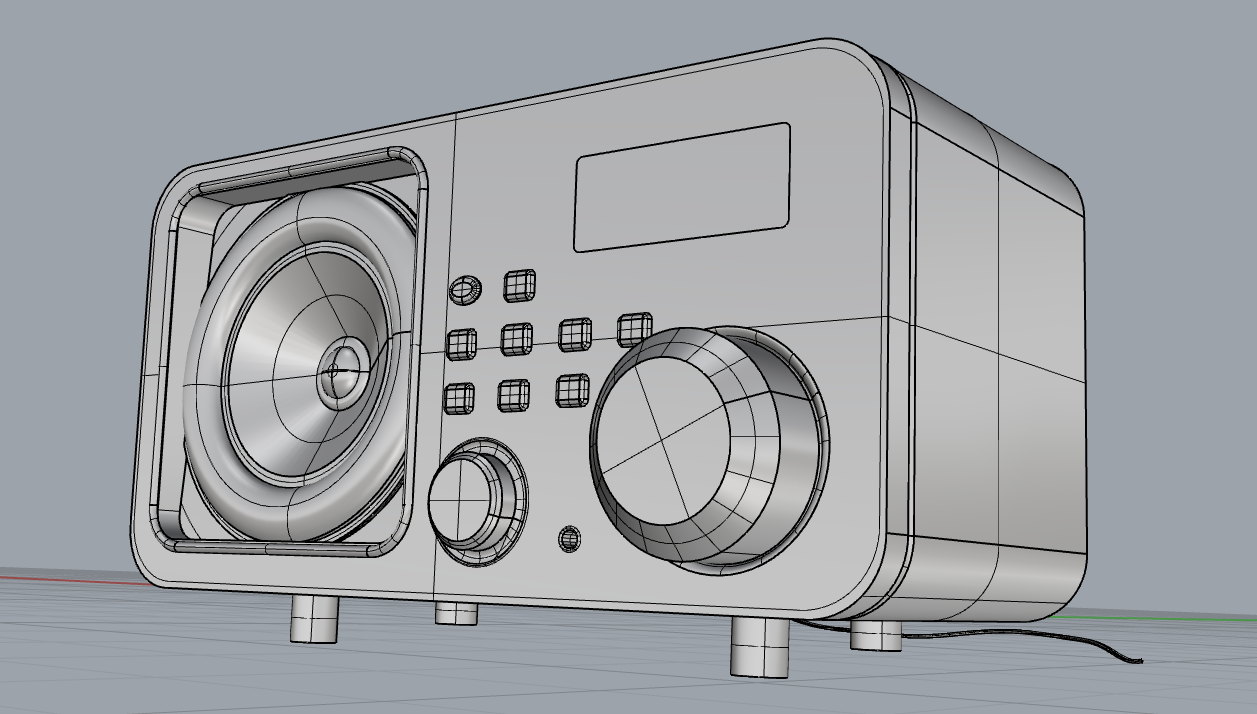
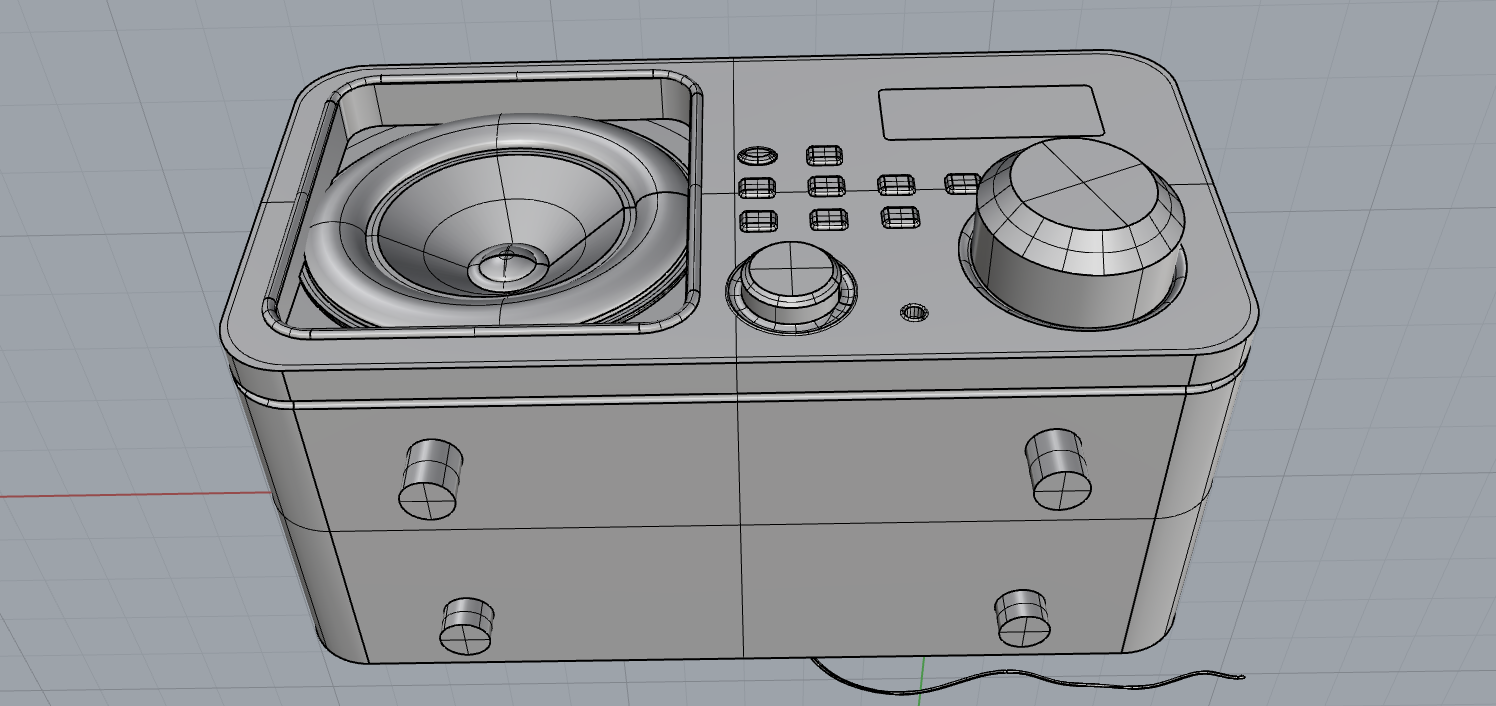
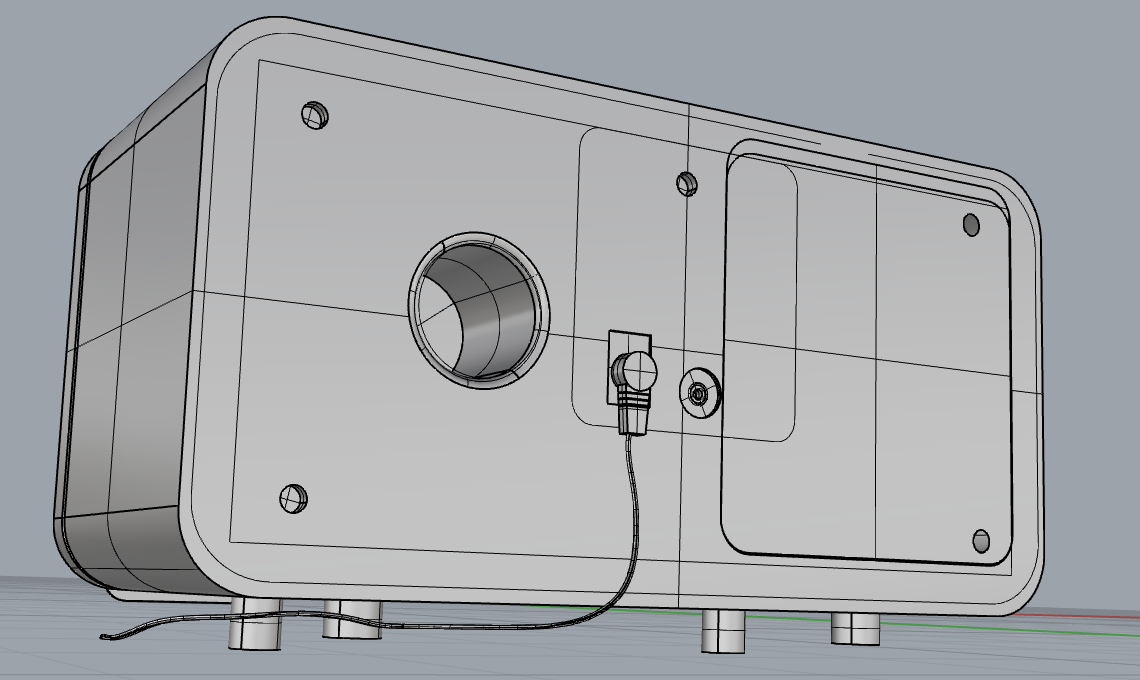
Examples of my past students’ Keyshot radio renders are available at the bottom of this page:

http://arst349.blogs.bucknell.edu/page/6/

—-

Instructions for creating your photorealistic renders in Keyshot:

Your assignment this weekend is to create a minimum of 5 different Keyshot renders of your radio and headphones, and post your images on the public class website. Students are expected to visit Keyshot’s website and watch the brief tutorial videos listed below.  Students are encouraged to include additional items of interest, and experiment with various materials, textures, environments, backplate images, camera lenses, etc.

– – –

Please watch the following Keyshot tutorials, which are available here: http://keyshot.com/learning/tutorials/

Rendering
Lesson 1: Rendering Overview
Lesson 2: User interface
Lesson 3: Working with cameras
Lesson 4: Importing and working with data
Lesson 5: Assigning and editing materials
Lesson 6: Texture overview
Lesson 7: All about labels
Lesson 8: Adjusting lighting
Lesson 9: Realtime settings
Lesson 10: Using backplates

– – –

Notes from the professor

  • While preparing your project in Rhino, organize the parts into different layers — once in Keyshot, each layer will be assigned the same material.
  • Before exporting from Rhino, select all with CTRL A and then run the “convertextrusion” command, ensuring that DeleteInput=YES.
  • Go to windows start button, and open the floating version of Keyshot.
  • In Rhino, under the Keyshot top menu, click “render”.  Your file will now export to Keyshot.
  • Getting around in the space
    • orbit with left mouse button
    • pan by holding down middle mouse button
    • zoom by rolling middle mouse wheel
    • to zoom selected, right click a part and select “look at”
    • Open the “project” window
      • Each Rhino layer becomes a different part of the scene tree
        • Press the + to expand a layer
  • Open the material library, and drag materials onto layer names in the scene tree
  • Materials can be edited by double clicking on the model or scene tree
  • Many options can be changed in environment
  • In the camera tab, cameras can be saved and/or locked at the top
  • Open the library
    • The environment can be changed– simply drag and drop into the workspace
    • Backplate images can be added– simply drag and drop
    • Textures can be applied to the scene tree as labels, colors, bump maps etc. to create a variety of effects
    • Light can be adjusted with arrow keys on keyboard
      • for large adjustment, use up and down
      • for fine adjustment, use left and right
      • To create a quick, low quality image, click the screenshot button or press “P”
      • To make a high quality image, click the render button at the bottom—then in the output tab, click the second render button in the lower right.  To be of good quality, renders should be at least 800 pixels in the larger dimension.
      • If at any point, you need to make changes to the layer organization or you need to move parts around, return to your Rhino file, make the necessary changes, and then while still in Rhino go to the Keyshot top menu and click “update”.
 

r r2 r3 r4


hp


http://digitalsculpture.blogs.bucknell.edu/radio-design-due-tuesday-february-4/


duck


1


http://digitalsculpture.blogs.bucknell.edu/homework-for-this-week-all-assignments-are-due-tuesday-jan-28/


The keypad code for the Sculpture Lab is: 1306#


Kendra’s hours and the schedule for courses meeting at the Sculpture Lab are listed below:


RhinoCapture


Rhino 5 tutorials on Lynda.com

Username:  Joe Meiser

PASSWORD:  SculptureRocks1

– – – –

How to post materials on the class website