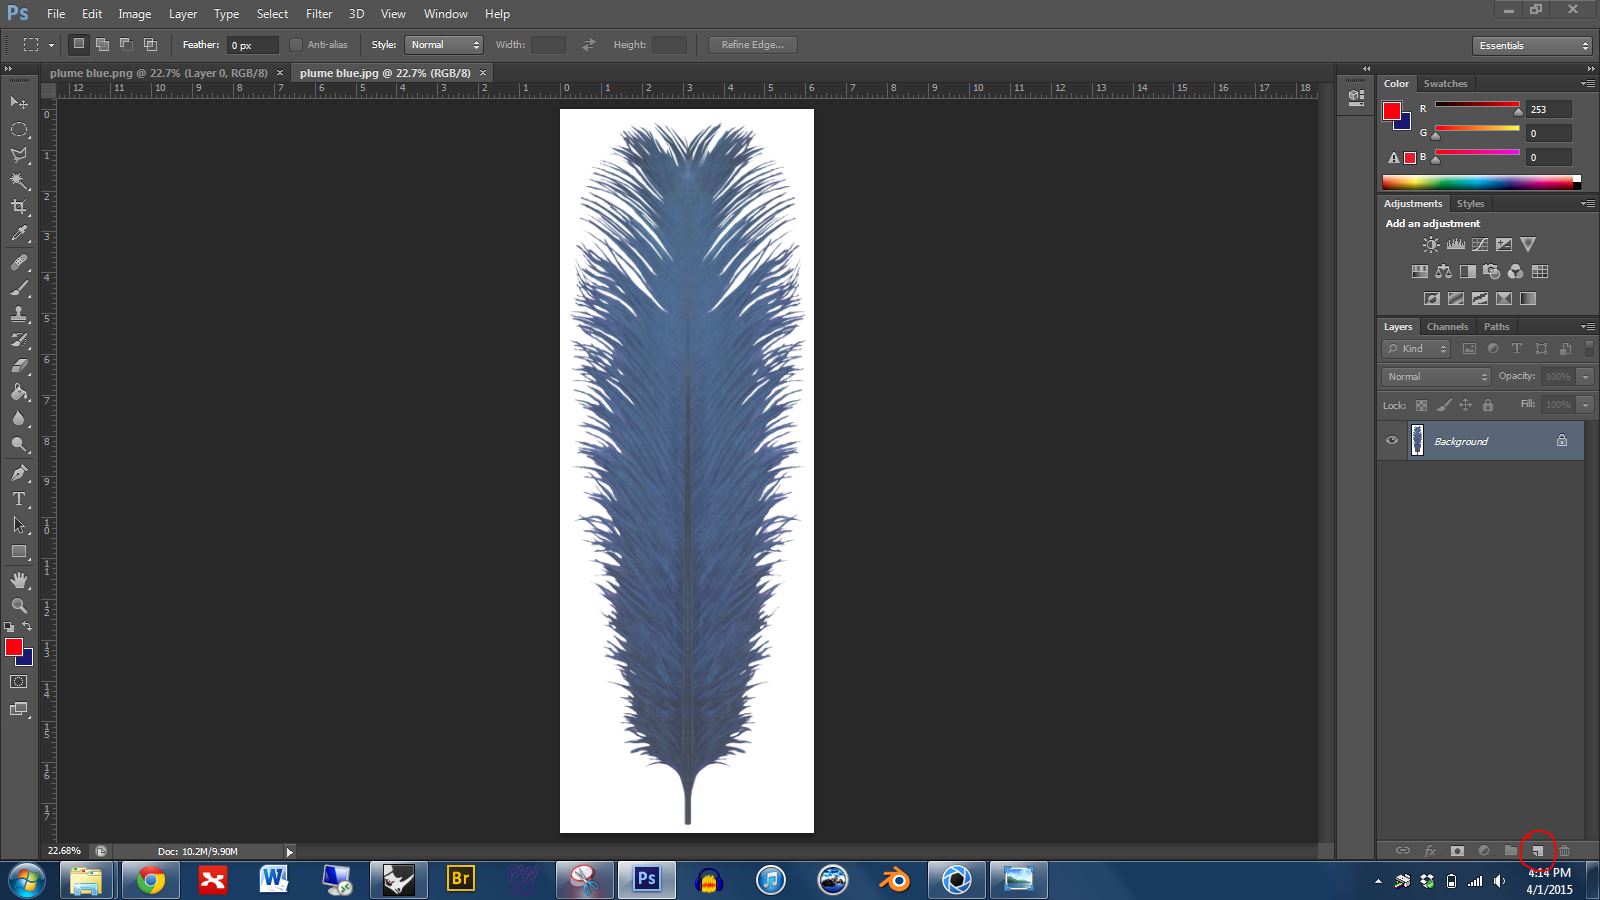
Step 1: Open an image in Photoshop.

Step 2: In the layer pane, drag the background layer down to the new layer button and release (the new layer button is circled in red below). This will give you a background copy. Then hide the background.
Step 3: Erase parts of the image using the magic wand tool, the polygonal lasso tool, or the eraser.
Note:
- zoom in with control +
- zoom out with control –
- while zoomed in, if you push the space bar a little hand will appear that will allow you to move around
- press control d to deselect
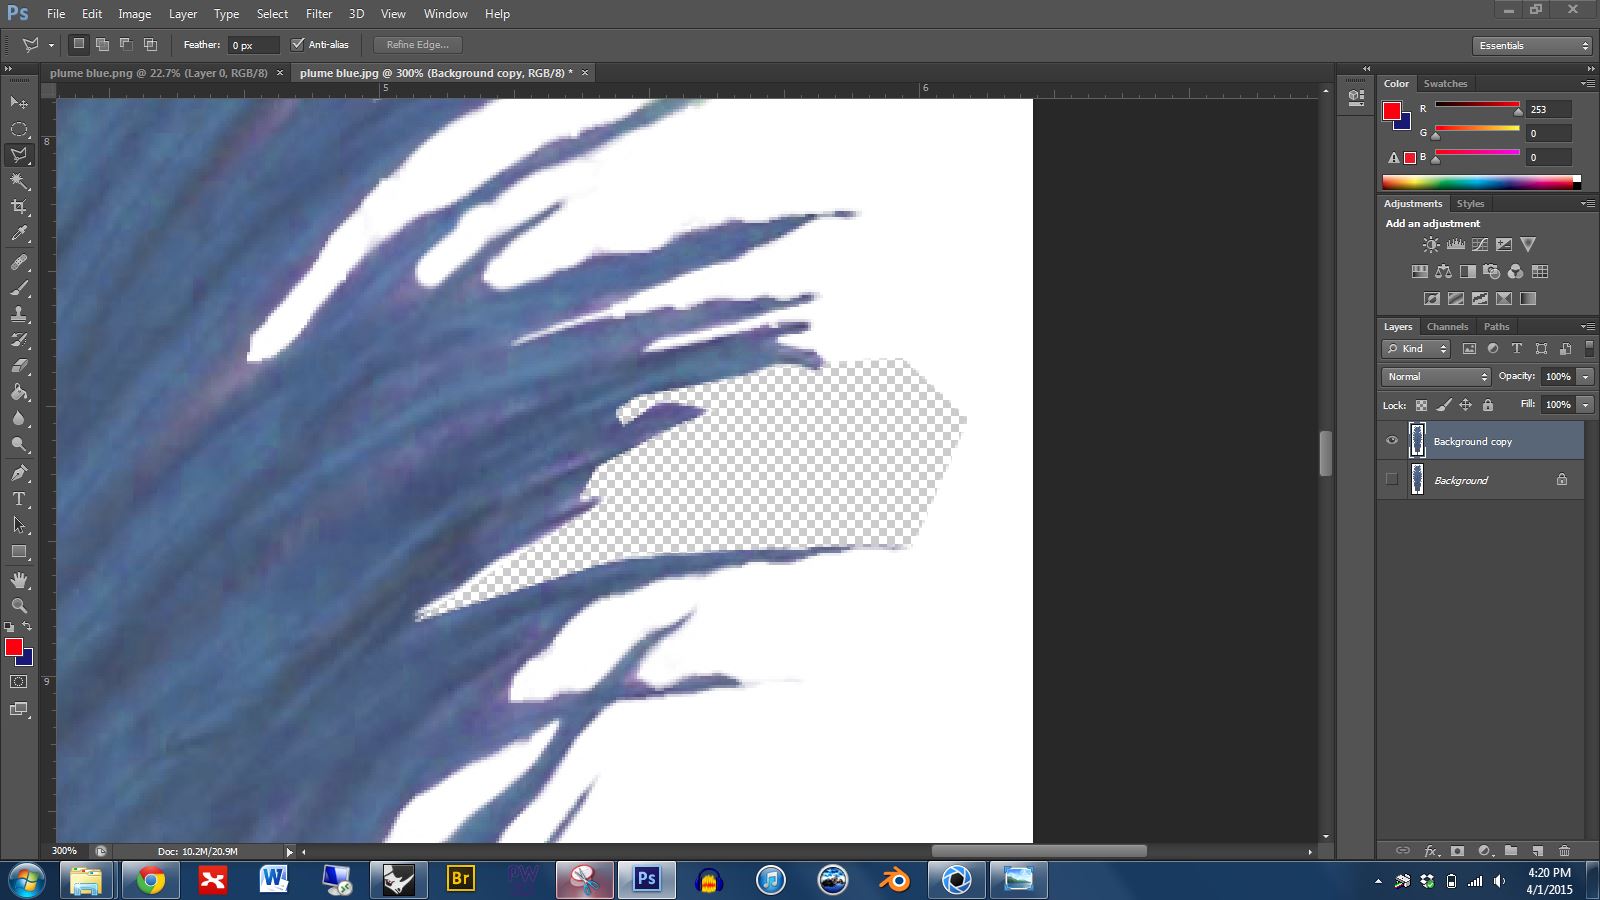
Step 4: When you’re finished deleting unwanted parts of the image you’ll want to save your file as a PNG.

Step 5: Now you need to set up the custom texture mapping. My favorite way to do this (when working with simple planes) is to pictureframe the PNG file in Rhino, then rebuild the plane (add more control points and change degree)… this will build in the UV mapping from the start.

Step 6: Distort the plane as needed.

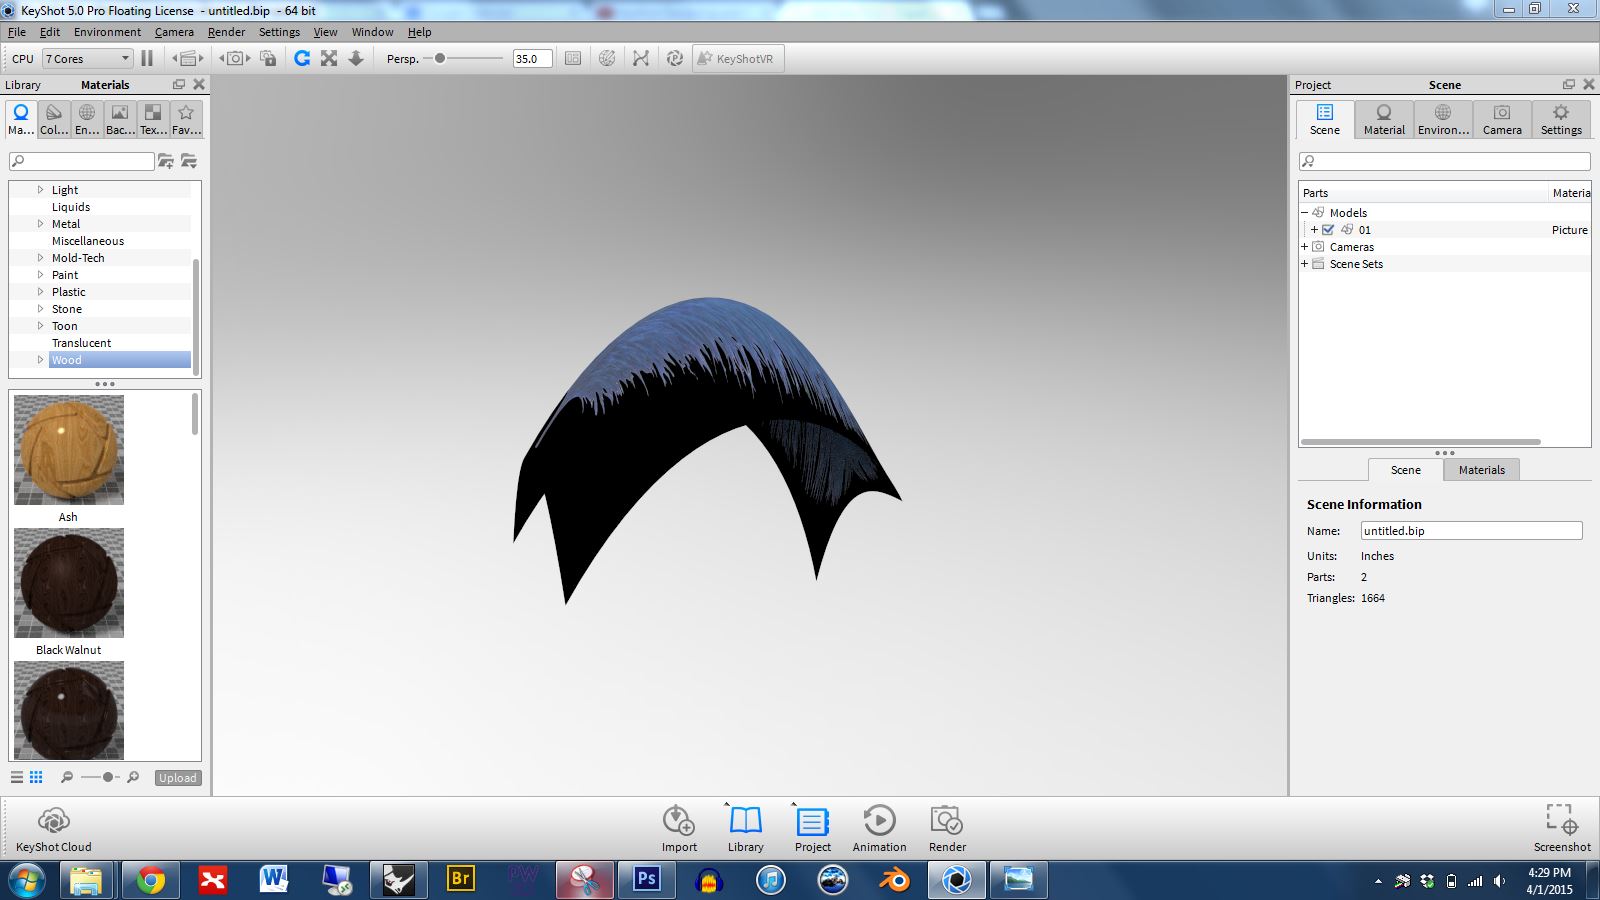
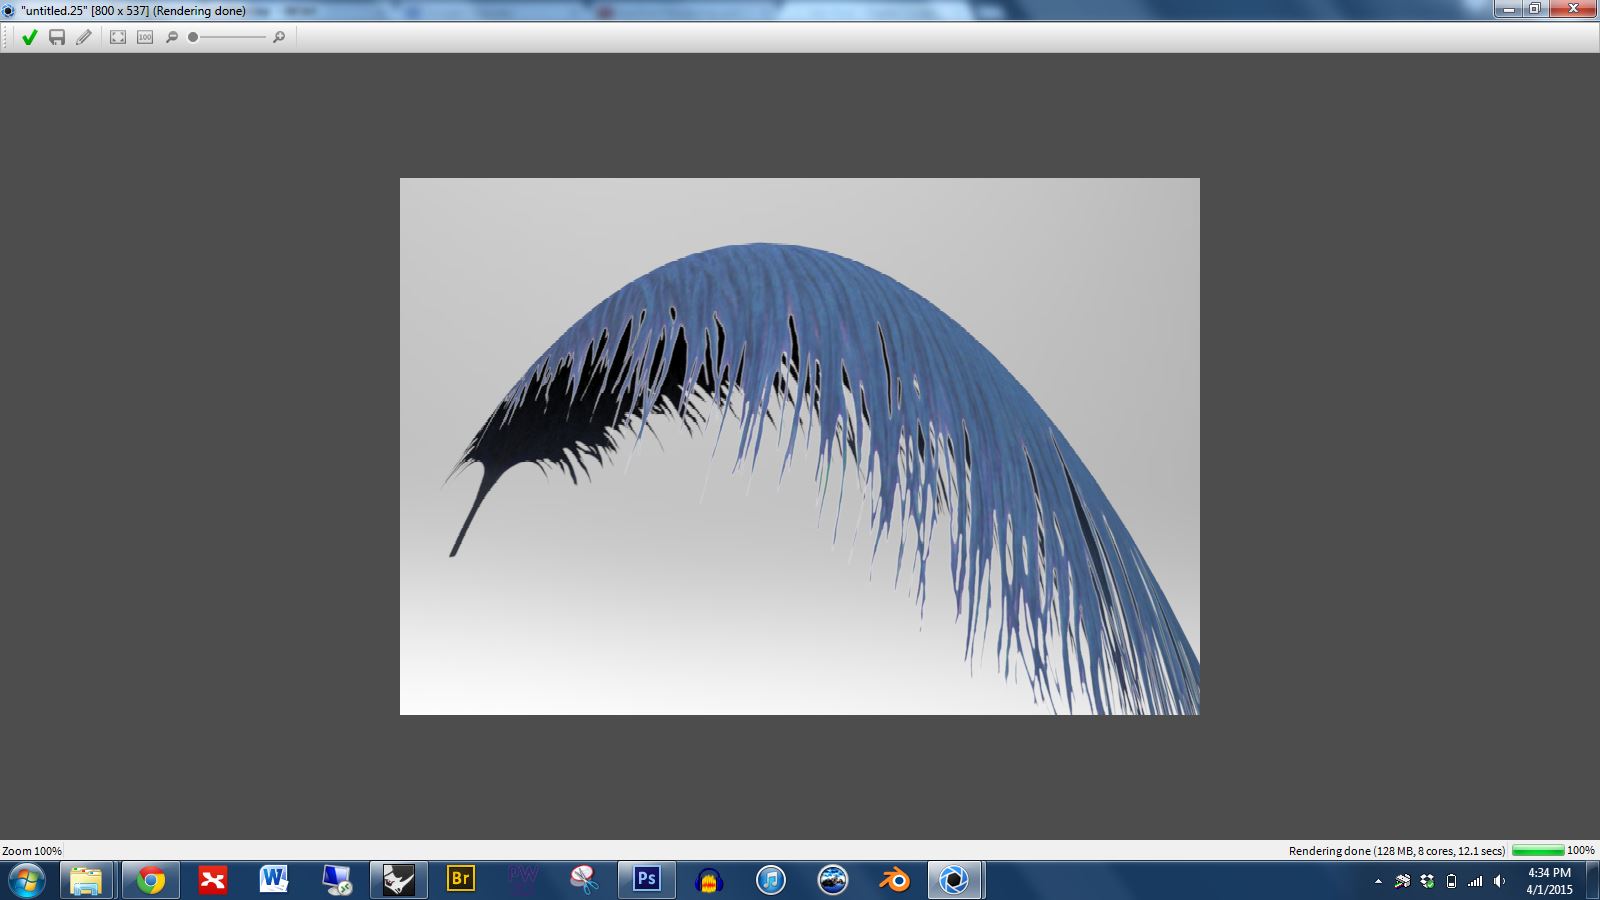
Step 7: Open Keyshot and import the Rhino file. When first imported you’ll see that the blank areas are black.
Step 8: Right click on the part and click to edit the material. In the material properties, in the advanced panel, find the box for “use diffuse map alpha” and click it. The blank pixels will disappear.
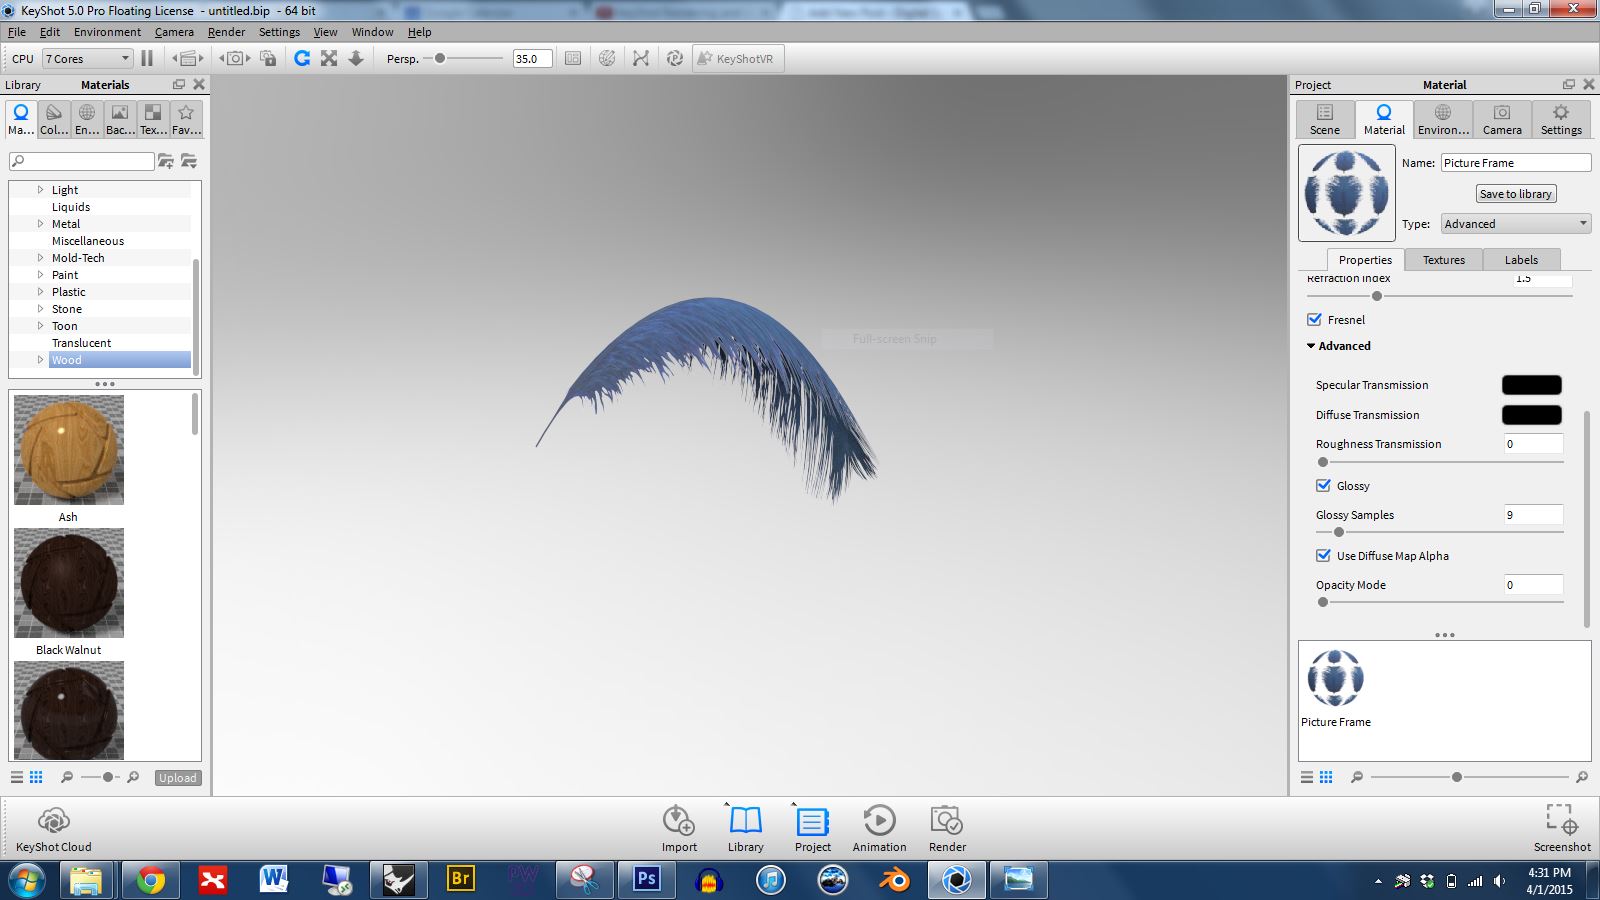
Step 9: Notice that there is a white outline around the feather (see below)
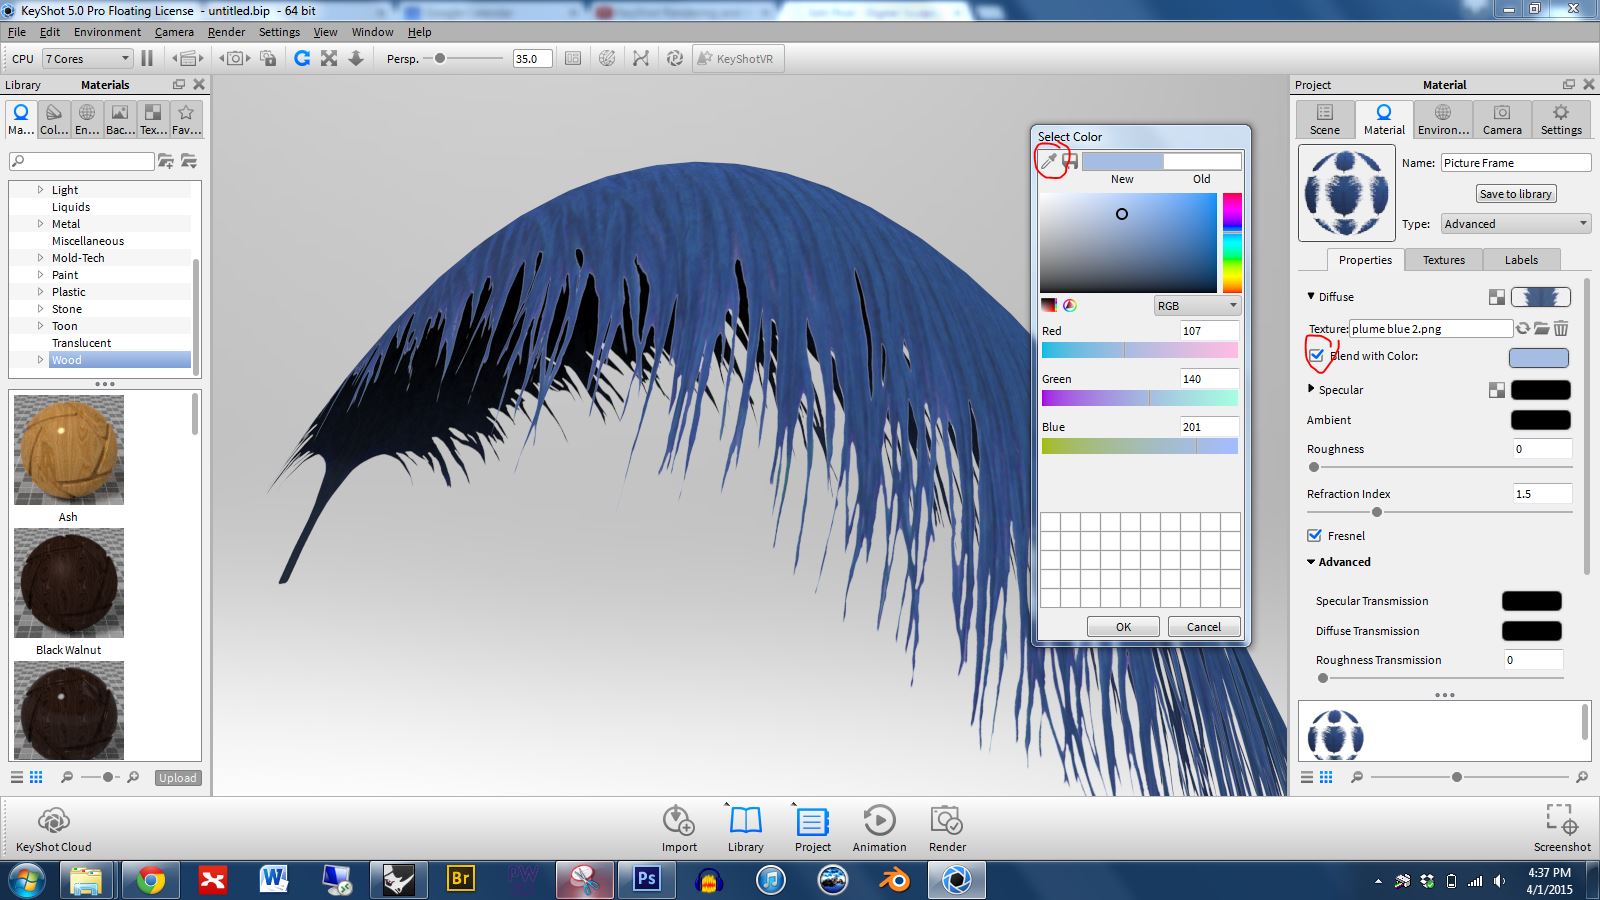
Step 10: We can minimize the outline by editing the material properties. You’ll want to choose to “blend with color” and then use the eye dropper to grab the color of your object, in this case a light blue.
Note: If your geometry is more complex and you’re not able to pictureframe your image then you’ll need to learn how to unwrap and use the UV editor. Check out the section on “Learning how to use UV coordinate mapping when necessary for complex forms” in this tutorial: http://digitalsculpture.blogs.bucknell.edu/creating-custom-materials/